Hillwalking in winter
Outdoor instructor Lucy Wallace looks at what to consider for safe and enjoyable hillwalking in winter.
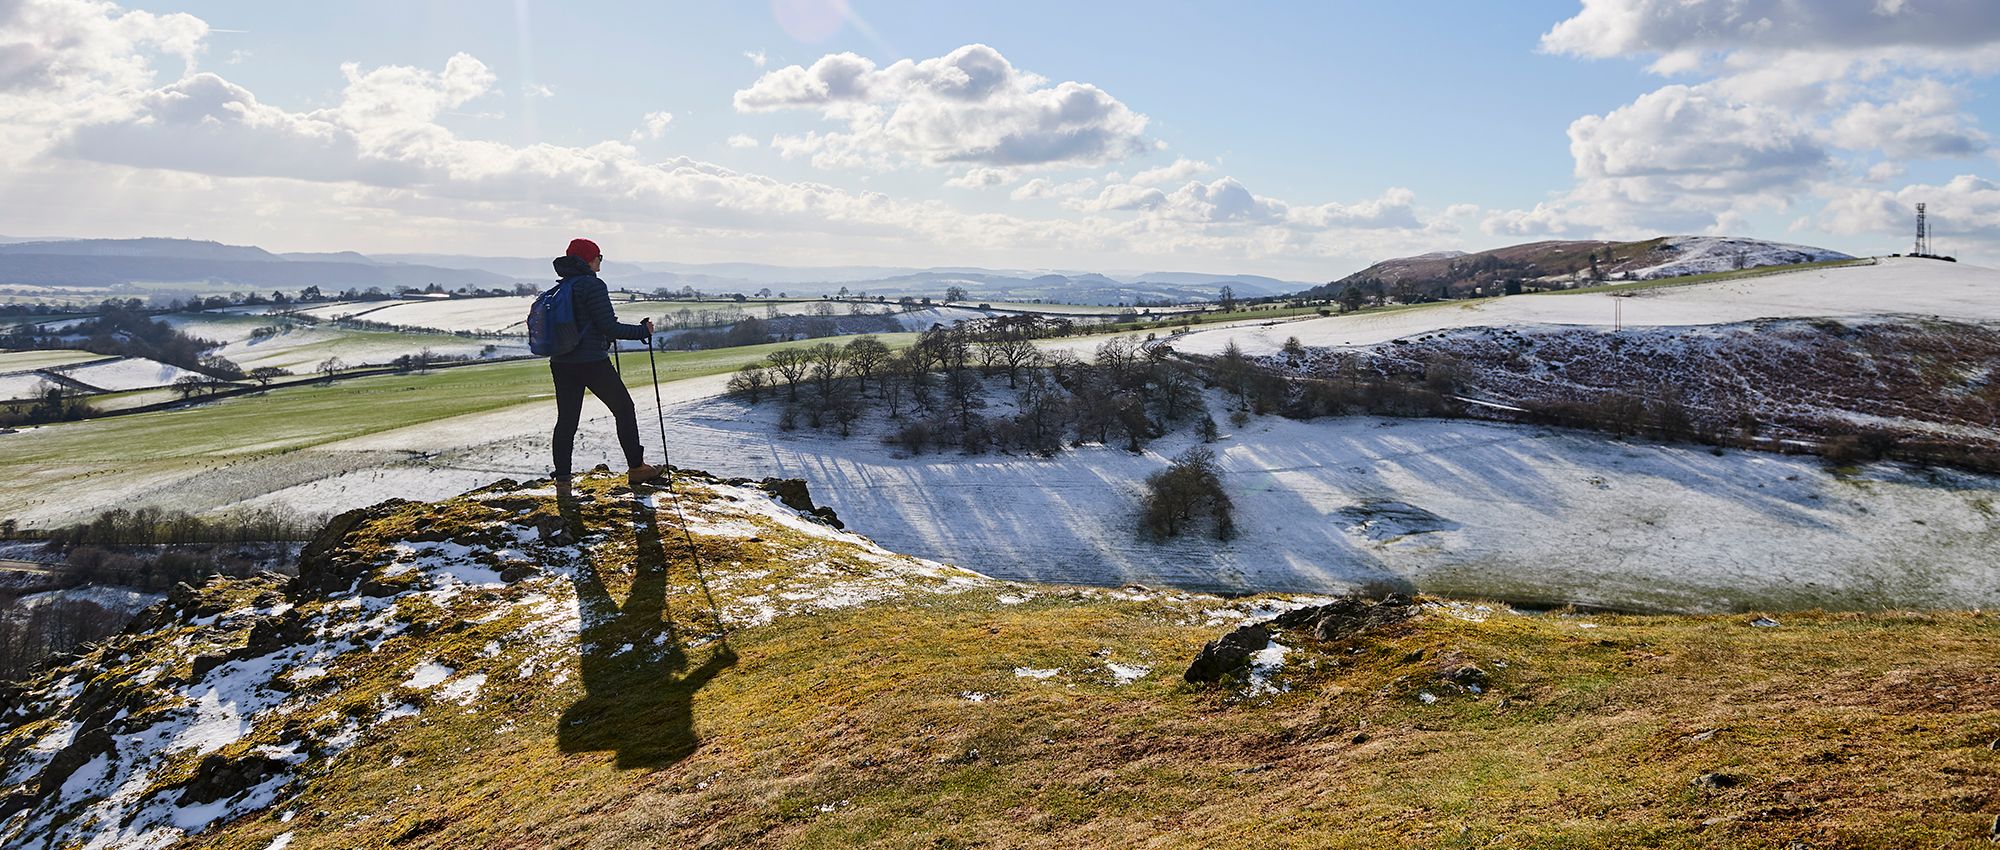
There’s no better feeling than crunching through crisp snow, wrapped up warm against the wintry elements, confident that you’re well prepared and have all the right gear to take care of yourself on a walk.
While winter walking can definitely present particular difficulties and hazards, the challenge is far outweighed by the rewards of enjoying a landscape transformed by the magical, icy grasp of winter. If you’re heading to the moors or distant mountains, we have some key pointers on how to make your winter walking adventures safe and enjoyable.
Always be prepared
Knowledge is power, so before heading out, gather as much information as possible from maps, guidebooks and websites about where you plan to walk, including current conditions underfoot (such as snow or river levels). Get your gear ready the night before to save time and be prepared to start and finish in the dark, making the most of the daylight. The weather in winter is very changeable, and the equipment you carry needs to be sufficient to cope with this. Depending on where you choose to walk, this may include some specialist gear such as an ice axe and crampons. Know your limits and skill level, and ensure you are physically and mentally prepared. If necessary, get some formal navigation and/or winter skills training before you head out on your own.
Watch the weather
Looking at the weather forecast before heading out is vital. It’s a good idea to monitor it for a few days before your hill walk keeping an eye on how conditions are developing. There are some great mountain-specific forecasts available from the Met Office and Mountain Weather Information Service.
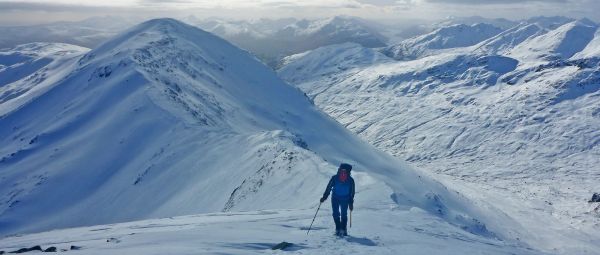
If you’ve done much walking in the hills in summer, you’ll know that the weather can be very different on the summits. In winter, this difference can be extreme, hostile even. It doesn’t have to be snowing or icy. Strong winds and driving rain are also serious winter hazards and can be very difficult to deal with, even if you’re experienced and well-equipped. ‘Wind chill’ or ‘feels like’ temperatures listed in forecasts help to give an idea of how the wind increases loss of body heat, making it feel much colder. Such strong winds and wet weather heighten the risk of hypothermia.
You’ll need extra layers, spare gloves and hats, plus more food than normal to look after yourself in these conditions. Look out for slippery, icy terrain and avalanches, as these may require specialist skills or equipment to negotiate.
Plan your route
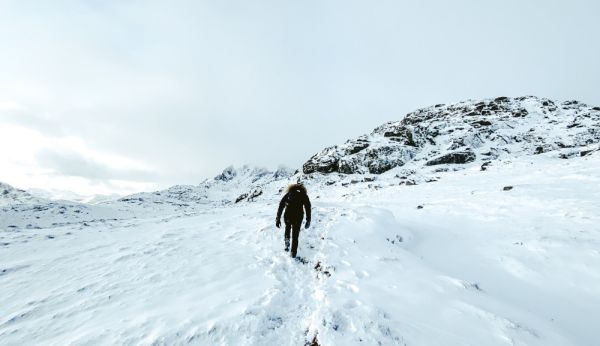
This is a vital stage of every remote winter walk. It’s when you combine all your preparation and choose an objective that works for you, your group and the conditions. Look out for things like steep ground and river crossings, which may be trickier in winter. Include extra time for a change of plan, or unexpected problems such as bad weather, tiredness or injury, or a blocked path. Plan ‘escape routes’ as sometimes plan B is a better option if circumstances change.
If you’ve familiarised yourself with your route in advance, it can really help when navigating in bad weather. Take a look at our guide on planning a walking route. Don’t forget to leave information about your route with someone else, in case of an emergency, particularly if you’re walking alone.

Carry a map and compass
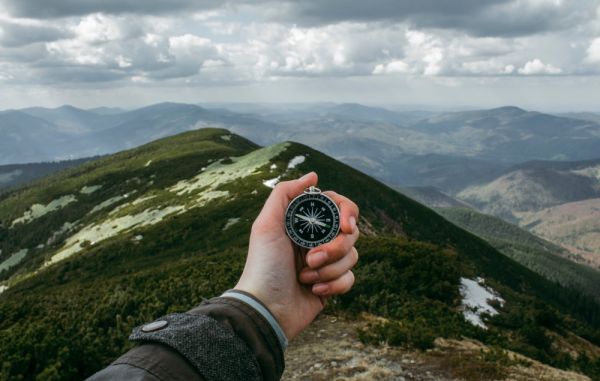
Carrying a map and compass and, crucially, knowing how to use them is a must for walkers exploring mountains and moorland in winter. Paths and hazards can be concealed by snow, mist and fog, reducing visibility and making it easy to become disorientated and lose your way. Batteries on phones and GPS devices can drain quickly in the cold, so don’t rely on these for navigation.
Getting help
In the event that you need assistance, dial 999 or 112, ask for ‘Police’, then ‘Mountain Rescue’. Mountain Rescue teams recommend downloading the free OS Locate app to your phone. This provides a grid reference (even without a phone signal) based on the National Grid printed on OS maps, which all rescue teams use. It’s also a good idea to register your phone with the Emergency SMS service, so you can text the emergency services, if mobile coverage is patchy.
Be avalanche aware
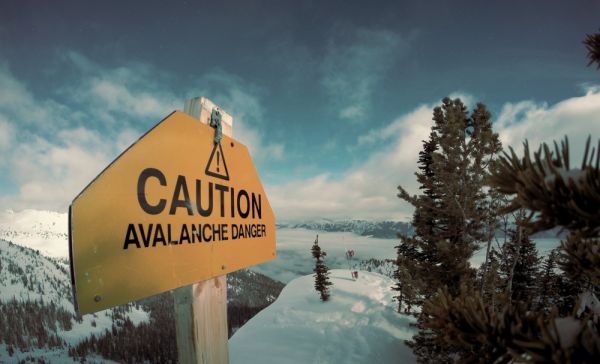
Avalanches happen in Britain every year, most frequently in the Scottish mountains. Unfortunately, 90% of people caught in avalanches triggered the slide themselves. Identifying and avoiding avalanche territory is an essential element of mountain walking safety. Potential danger areas include overhanging cornices along the rims of cliffs and ridges, and places where ‘windslab’ (masses of wind-transported snow) builds up on sheltered lee slopes (slopes protected from the wind). Understanding how slope aspect increases the chance of an avalanche is particularly important.
Finding safer routes, by avoiding avalanche terrain, is a good idea. The Scottish Avalanche Information Service produces forecasts and resources to help plan routes avoiding these and other dangers.
Build your confidence
The dos and don’ts can seem overwhelming, but there’s no substitute for getting out there and doing it. Team up with someone more experienced – perhaps on a walk offered by one of the 500 Ramblers groups. Many regularly head into remote areas. Or join one of the training courses run by Ramblers Scotland and Ramblers Cymru. Preparing well will help you build skills to last a lifetime, and enjoy all that winter has to offer.
Essential equipment
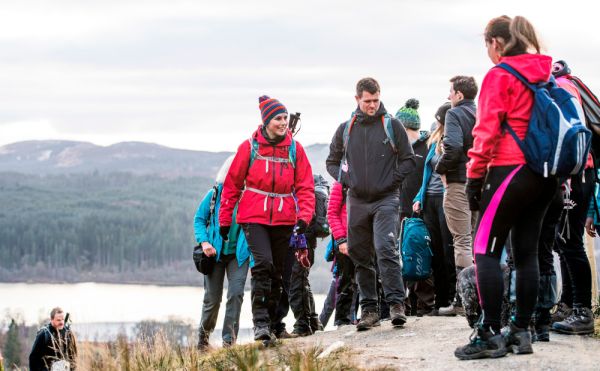
Having a plan and some basic kit to deal with emergencies in winter is essential. A simple slip or trip can become a complex, protracted situation. Bad weather will exacerbate this. Well-considered equipment should include:
- Boots - Invest in waterproof ones with a good grip. If you plan to use full crampons, you’ll need boots stiff enough to be compatible. Team boots graded B1-B3 with crampons C1-C3.
- Crampons - ‘Microspike’ types fit over most footwear and provide traction. On steep ground, a full crampon is necessary, but must be fitted correctly. See Mountaineering Scotland’s excellent advice.
- Drybags - Rolltop drybags or a rucksack liner will keep everything dry.
- Emergency shelter - A group shelter is a giant windproof bag that packs away small, but can accommodate small groups in emergencies.
- First-aid kit - Pack a waterproof pouch with dressings, blister plasters, pain relief and emergency hand warmers.
- Headtorch - Essential, as shorter days mean walkers often start or finish in the dark. Can also be used to attract attention. Pack spare batteries.
- Layers - The secret to staying warm and comfortable. Flexible as conditions change, but avoid slow-to-dry cotton.
- Waterproofs - Pack both jacket and trousers. Look for a jacket with a roomy hood, and trousers with side zips so you can put them on over boots.
- Map and compass - Indispensable tools for winter walks. Include a map case if your map isn’t waterproof.
- Notepad - To write down information for the emergency services, if required.
- Rucksack - Around 35 litres should be sufficient for carrying winter essentials.
- Ski goggles - To keep out stinging spindrift and insulate your face.
- Spare hats and gloves -These can get soaked through, so carry extras.
- Walking axe - Essential in ice and snow; often used like a walking stick, with a pick, spike and adze.
- Whistle - For use in an emergency.
A beginners guide to using a compass
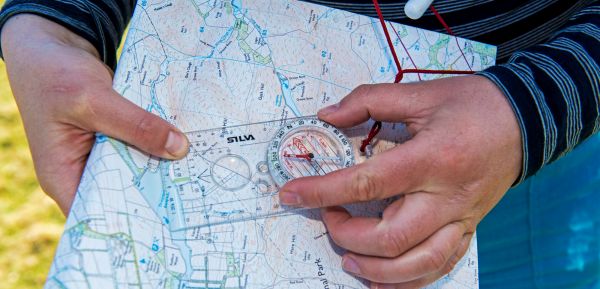
When it comes to walking in the countryside, a compass is the most accurate way of following a map. So here’s our beginner’s guide to using a compass.
The easiest Munros to bag in Scotland
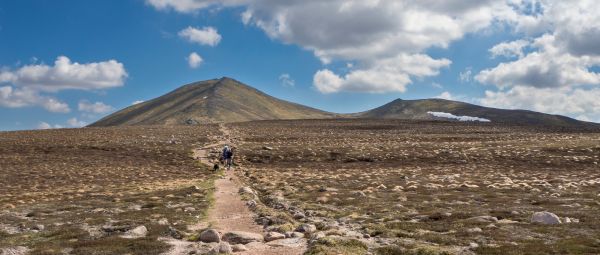
What is a Munro? What is Munro Bagging? Why should you want to ‘bag’ a Munro? And where should you begin? Your questions answered.

The best routes to walk up and near Ben Nevis
How to tackle the formidable Ben Nevis, the UK’s highest mountain, and discover the best hikes close by too.